Before measuring: in circuit or out?
12 minutes · Intermediate
Simulations and quizzes aren't read aloud; pause when you reach them and try them out.
Measuring a part is easy; measuring it correctly means following a few rules. A wrong measurement leads you to remove and throw away a good part, or leave a faulty one on the board. Each lesson in this course covers one type of part. First, let's learn the rules that apply to all of them.
📷 Real-world view
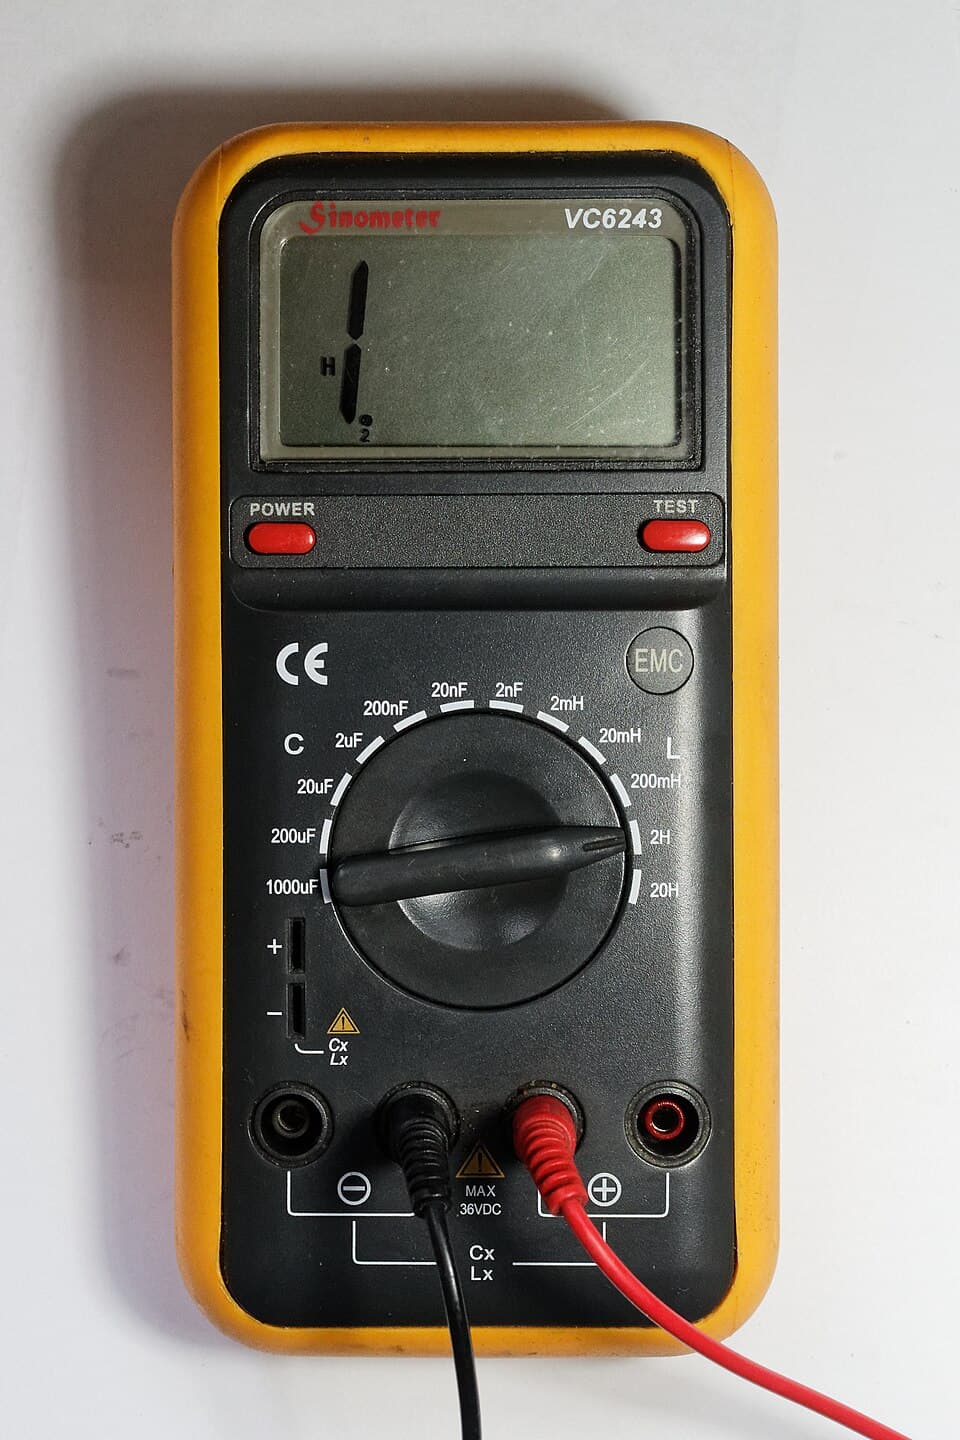
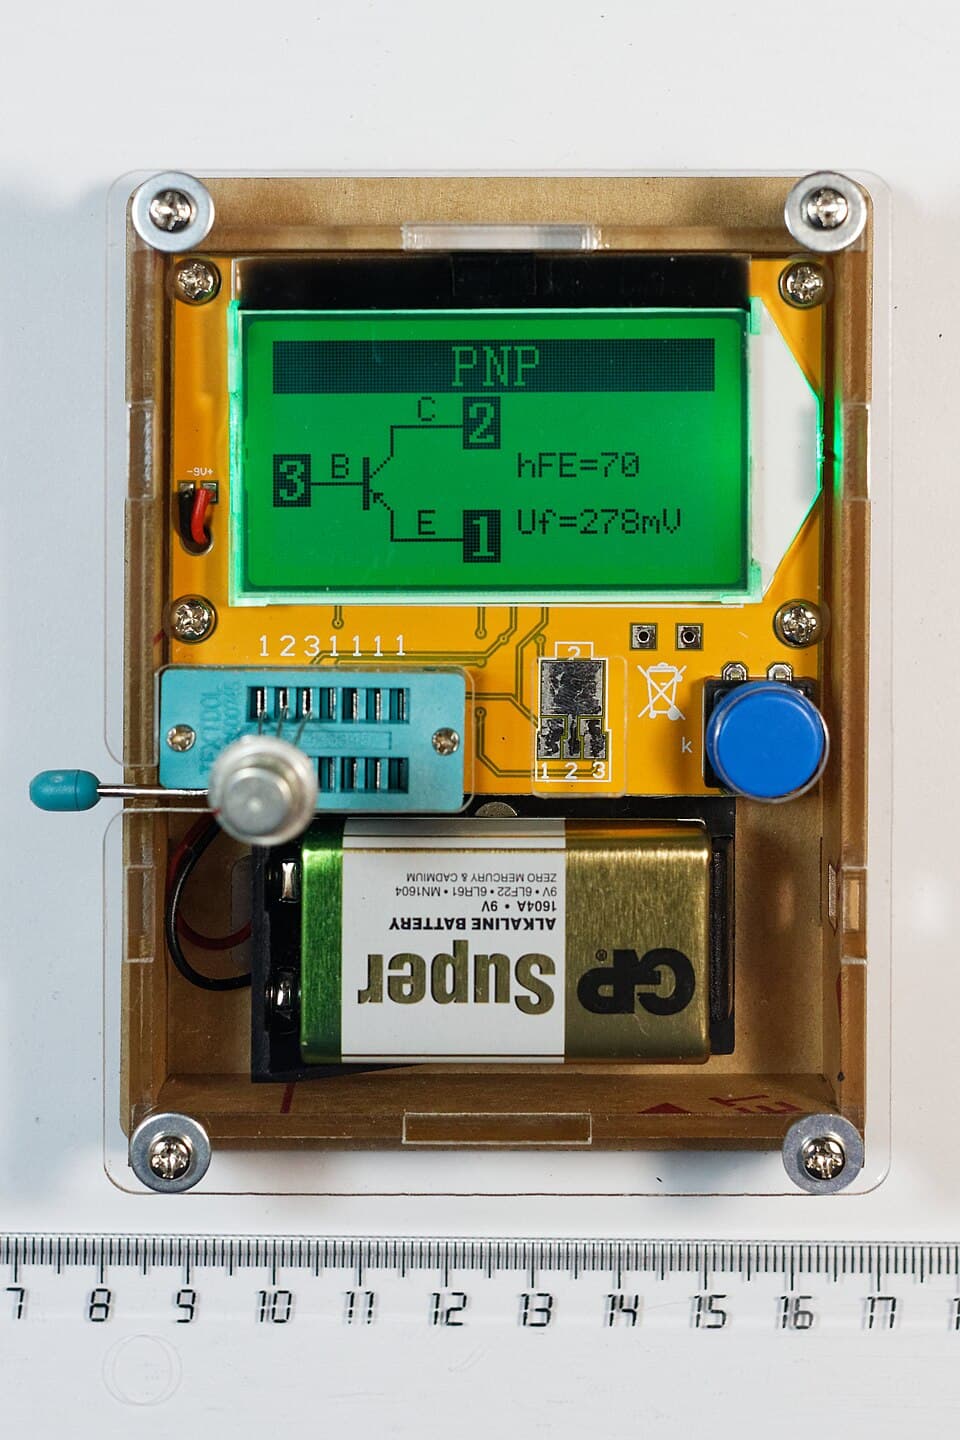
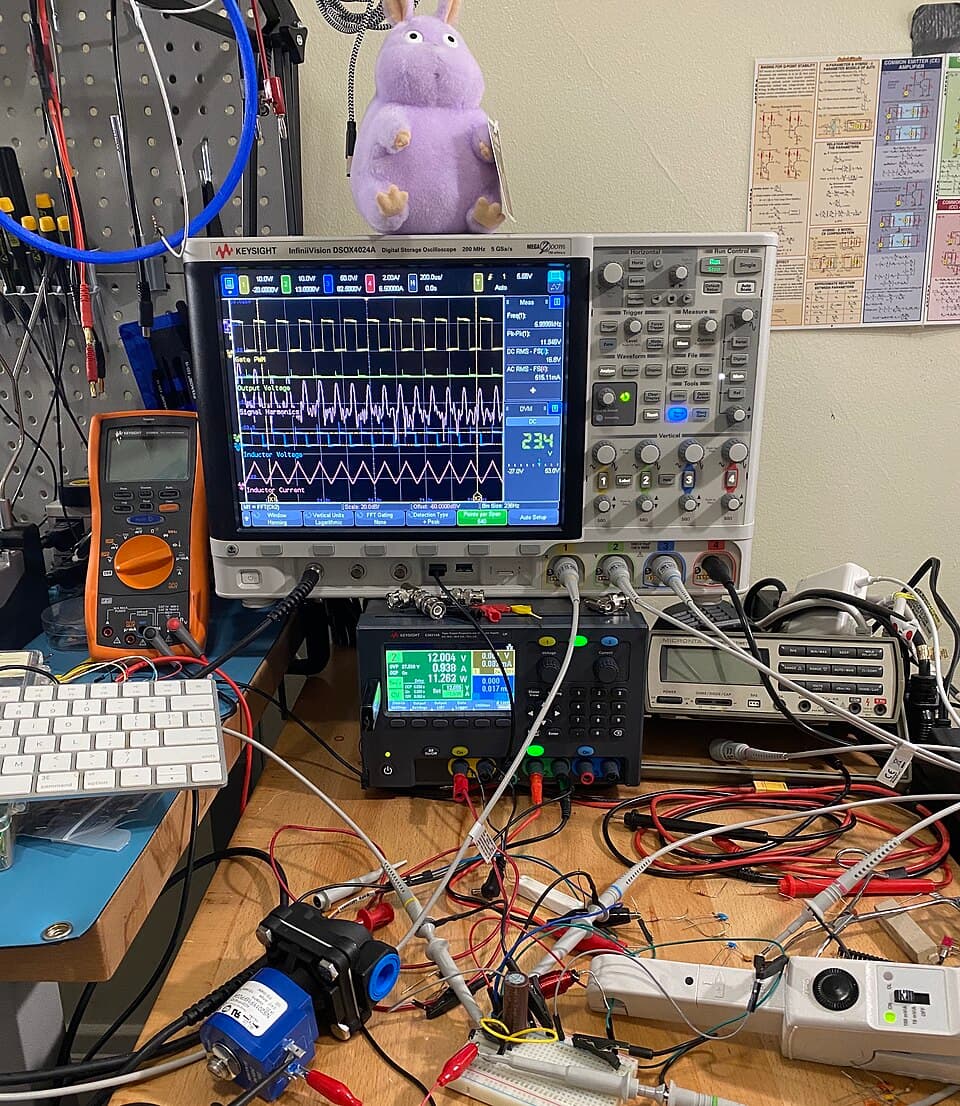
1. Is the power off?
For resistance, continuity, diode and capacitance measurements, the multimeter sends a small current through the part from its own battery and looks at the resulting voltage. If there's another power source in the circuit, the measurement is meaningless, the multimeter's fuse can blow or the meter can be damaged.
- Unplug it, and remove any battery or battery pack.
- Discharge large capacitors and confirm they're discharged by measuring on the DC voltage range.
- Voltage measurements are the opposite: they're made with the power on. Always know which kind of measurement you're making.
2. In circuit or out of circuit?
When you measure a part on a board, the multimeter sees not just that part but everything connected in parallel with it. That's why an in-circuit measurement often comes out lower than it should.
Question: You're measuring a 10 kΩ resistor on a board. Between its two ends there's another 10 kΩ resistor via a different path. What will you read?
The two resistors are in parallel: R = (10 × 10) / (10 + 10) = 5 kΩ
The multimeter shows 5 kΩ; you might think the resistor's "value has dropped" even though it's fine.
Rule: if an in-circuit measurement is higher than it should be, the part really is faulty (open). If it's lower, lift one leg to be sure.
Why can we say 'if it reads high, it's faulty'?
Every path connected in parallel can only lower the total resistance. If you read a value higher than the marked value in circuit, the extra can't come from parallel paths; the part itself has gone open.3. Comparison: the most powerful repair method
For many parts you won't know the "right" value. But if you have a working board from the same device, or the board has two copies of the same circuit (e.g. the left and right channels of a stereo amplifier), you can measure the same points and compare. The point that differs is near the fault.
4. Know your meter
- Battery: when the multimeter's battery gets weak, readings drift. If a battery symbol appears on the display, replace it.
- Probe resistance: the probes and leads also have about 0.1–0.5 Ω of resistance. Before measuring very small resistances, touch the probes together and subtract that reading from the result. Many meters have a REL (relative) button that does this automatically.
- Diode range: sends about 1 mA through the part and shows the voltage on the display. The unit is volts, not ohms.
- Safety category: for mains measurements use a meter marked at least CAT II 600 V or CAT III.
5. Look first
Before you start measuring, inspect the board under good light, with a magnifier if possible: burn marks, darkened resistors, bulging capacitors, cracked solder joints, liquid residue and corrosion often point straight at the fault. Use your nose too: a burnt smell can tell you where the fault is.
Which measurement is right?
Step 1 / 3You're working on a speaker's amplifier board. Choose the right approach at each step.
The board has been unplugged. It has a 2200 µF 35 V capacitor on it. You want to start measuring resistors.
What should you do first?
Common mistakes
- Measuring resistance or continuity with the power on.
- Leaving the probe in the A (current) input and measuring voltage: that's a short circuit and blows the multimeter's fuse.
- Assuming every low in-circuit reading means a faulty part.
- Holding both probes and the part with your fingers at the same time: with high resistances your body joins the measurement.
Test yourself
1. Which measurement is made with the power ON?
2. A resistor measured in circuit reads HIGHER than its marked value. What does that mean?
3. What is the unit of the value shown on a multimeter's diode range?
4. What does the REL button do?
This was the free first lesson of the course
The remaining 9 lessons of Component Measurement and Testing, with their simulations and quizzes, unlock when you buy the course.
See the full course →